AFR Milan Badge Generator User Guide
This generator was developed in accordance with Section B-3, Staff Badge, of the AFR Milan Visual Identity System. Please review the user instructions carefully. If you have any questions, feel free to contact the AFR Marketing Department.
Select a Preset
Choose AFR Milan preset from the drop-down menu.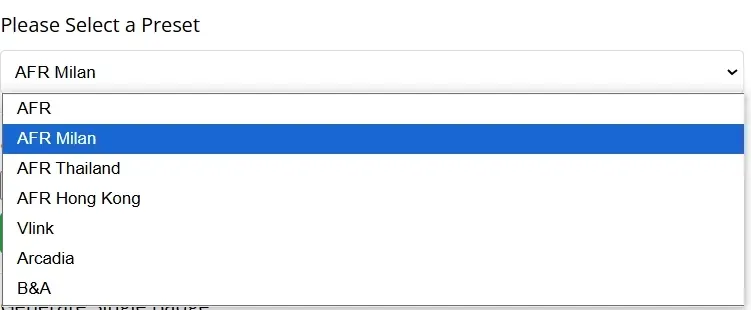
Generate a Single Badge
Fill in the Form
- Name: Enter the name in English, Capitalize the first letter of the first name and last name

- Department: Enter the department in English, Capitalize the first letter of each word

- Job Title: Enter the position in English, Capitalize the first letter of each word

- Employee ID: e.g.,
No. 12345
- Upload Photo (Optional): One-inch blue background passport-style photo (2.5 × 3.5cm)
- If you don’t upload a photo here, you’ll need to paste it into the space provided on the badge after it’s printed.
Preview & Download
- Click the Badge Preview button to preview the badge.
- After previewing, the Download Badge button will appear — click it to download the badge.

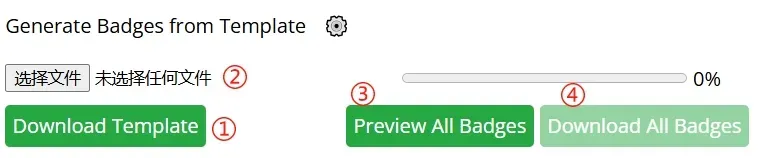
Batch Generate Badges
- Click Download Template to download the Excel template and fill in the required information.

- Delete the example row “Firstname Lastname” when filling.
- Upload the filled Excel file.
- Click Preview All Badges to preview the batch badges.
- Click Download All Badges to download all generated badges.
Notes
- Ensure the information is filled out accurately to avoid generating incorrect badges.
- You can only download the badge after previewing it. Please carefully check for any display or layout issues during the preview.
- No official seal is required on the badge.
- Color Printing Paper Requirements:
Use 120g color-specific printing paper (Recommended: Kodak Double-Sided Glossy Paper). - The front and back of the badge should be assembled separately.
- After attaching the photo, both the front and back must be laminated.
- If you have any questions, please contact the Marketing Department.